The first image is without a filter and the second with a filter. There is a noticeable change with the filter set just at the horizon line. Apart from the obvious darkening there is a greater differential in the tonal structure of the clouds. This most unusual cloud formation is what attracted my attention and why I took the photograph.
Again the images are no filter and with filter. The addition of the filter provides a darkening of the sky and in common with the first pair there is a greater tonal range.
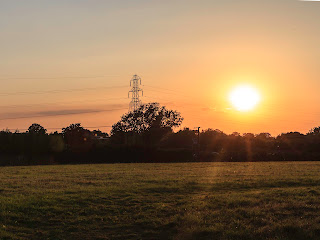
Same without and with filter sequence as in the two previous sets. Here there is a significant difference in the two although I would question the wisdom of suggesting shooting directly at the sun.
General Comments:
It seems to me that adding the filter holder and filter to the camera and then adjusting the filter is, with the advent of the digital camera, a questionable practice that risks losing the shot. The opportunity to take bracketed exposures when shooting and combining the resulting images offers a much better chance of achieving the desired image. Another alternative is to use the graduated filter tools in Lightroom or Photoshop that offer far greater flexibility.
I recently watched a training video in which the presenter ( a very experienced and well known landscape photographer) was constantly adjusting the filter(s) on his landscape camera and I was left wondering whether he ever got the shot he first set out to catch. It is true that landscapes don't move but this is to ignore the very powerful effect of the changing light both over a relative lengthy period of time such as sunset or sunrise or a very short period of time where clouds are passing quickly in front of the sun.


No comments:
Post a Comment